|
Firstly obtain a kX compatible sound card. Go to http://kxproject.com/ to get more information.
Install.
- The sound card driver for your kX compatible card at site linked to above. I use kX 3550 on Windows XP which is the recommended version since later versions have issues with hardware detection and have broken plugins such as the decimator.
- ProFx for kX at http://members.home.nl/nahutec/ProFx/ProFx311_51.zip
This is to replace the older and also broken ProFx plugin shipped with the kX driver. Unzip the plugin and store it in the "C:\Program Files\kX Audio Driver" directory. Next, from the DSP window in kX, right click and select Registers Effects (Dane/Kxl...) and select the unzipped ProFx plugin to install it.
Setup.
- Route the audio out of your OPL3 compatible card into the Line-in of your kX card, alternatively should you have S/PDIF, route the digital out of your OPL3 compatible card into one of the digital inputs of your kX card. For example I currently route the S/PDIF output of an A-Trend YMF724 card into the S/PDIF input on an Audigy Platinum.
The configuration of the kX driver is quite complex and I won't go into great detail here, you are advised to study documentation elsewhere if any of my steps are difficult to follow and understand.
Configuration.
- Right click on the kX tray panel icon to reveal its popup menu. From that menu select `kX DSP'.
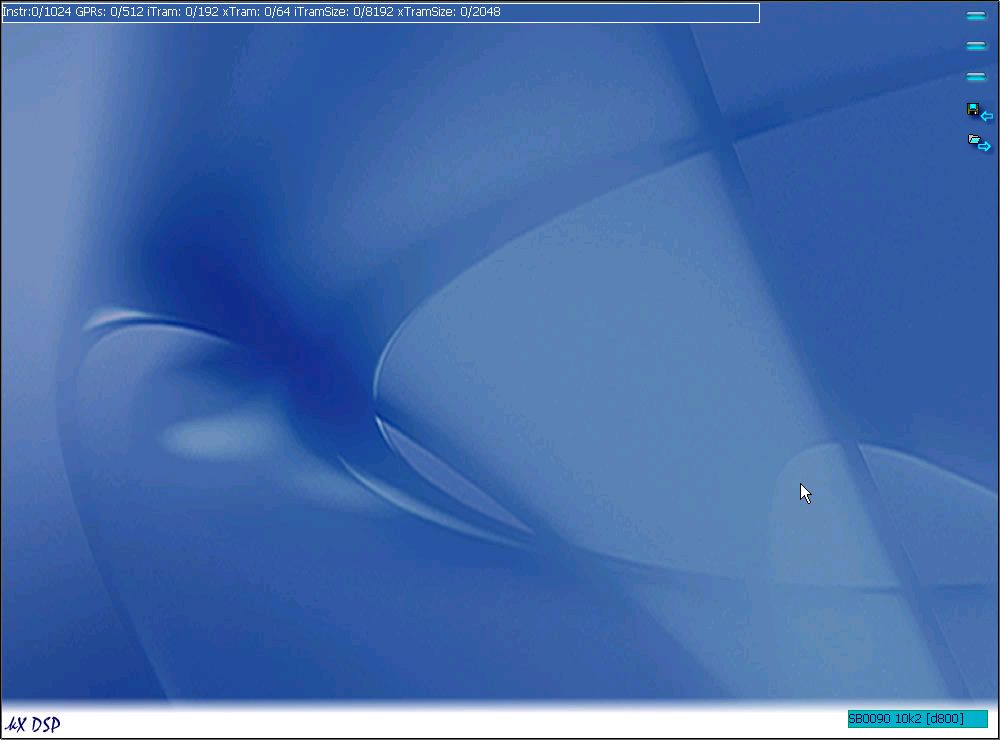
- On the kX DSP panel, right click and select `Clear DSP'.
This gives us blank slate to work on.
Now we will create an input.
- If you are using S/PDIF, right click on the DSP panel and via `Add Effect/Plugin' locate ProFx:SRC and add it to the panel.
Double click on SRC to assign the physical input, choose the correct digital input CD S/PDIF or Coax/Optical.
- If you are using Line-in, right click in the DSP panel and via `Add Effect/Plugin' locate ProFx:ADC and add it to the panel.
Double click on ADC to configure the physical input. You can use either the left (ADC) or right (UDA) devices. Deselect the left (ADC) and enable the right (UDA) and enable the Line-in.
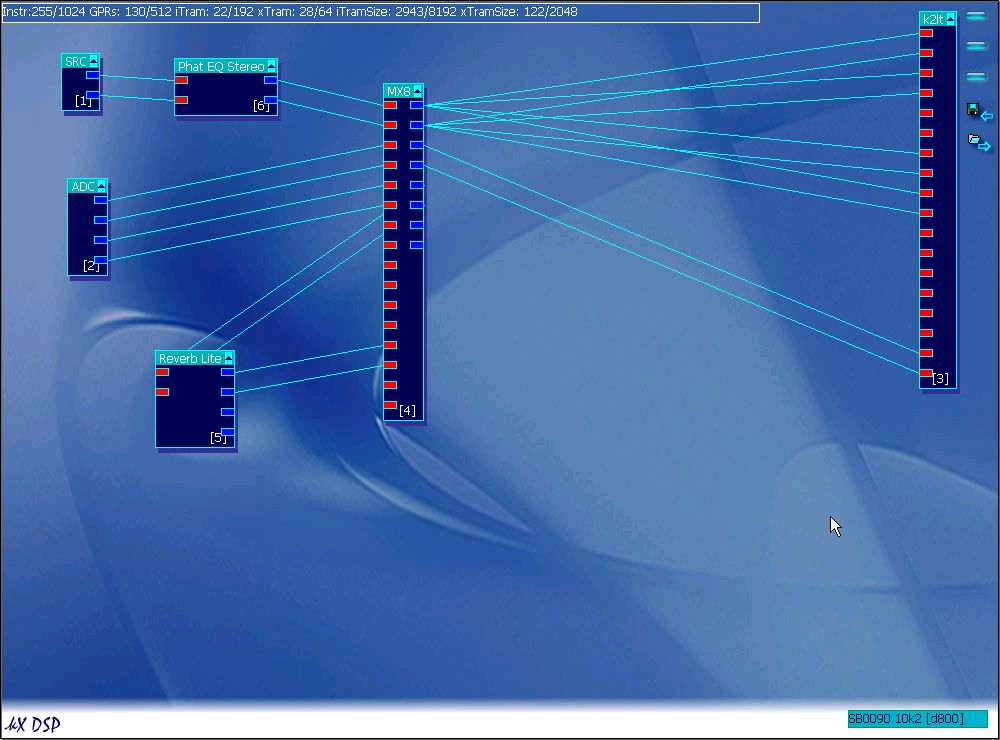
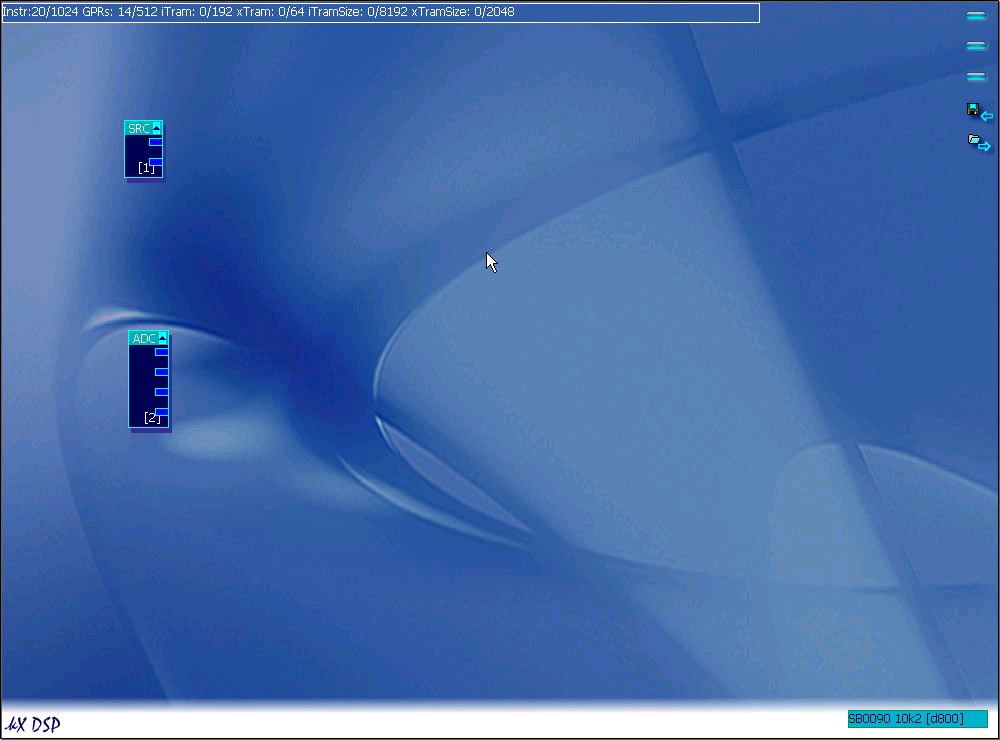
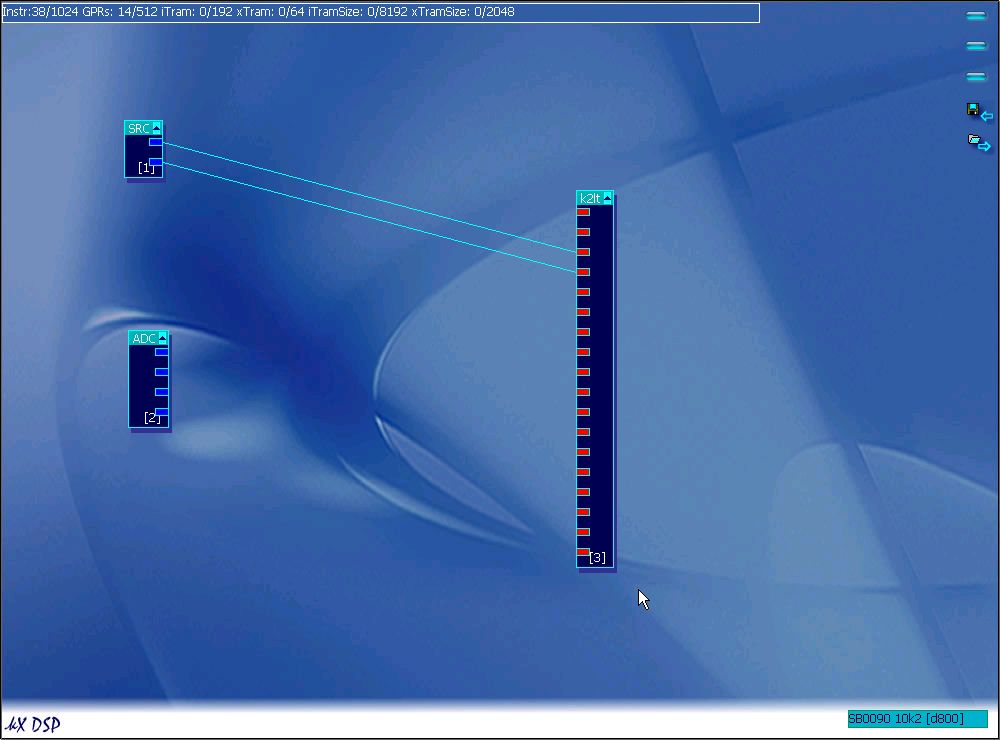
Here is how it looks with both a SRC and ADC plugin added to the page.
Now we will create an output.
- Right click on the DSP panel and via `Add Effect/Plugin' and locate ProFx:kXlt, add it to the page.
This plugin can route audio to your Line-out, headphone jack, S/PDIF out and also to Windows multimedia for recording purposes.
The kXlt plugin renames itself dependant upon the sound card you have. k1lt for SBLIVE! and k2lt for Audigy.
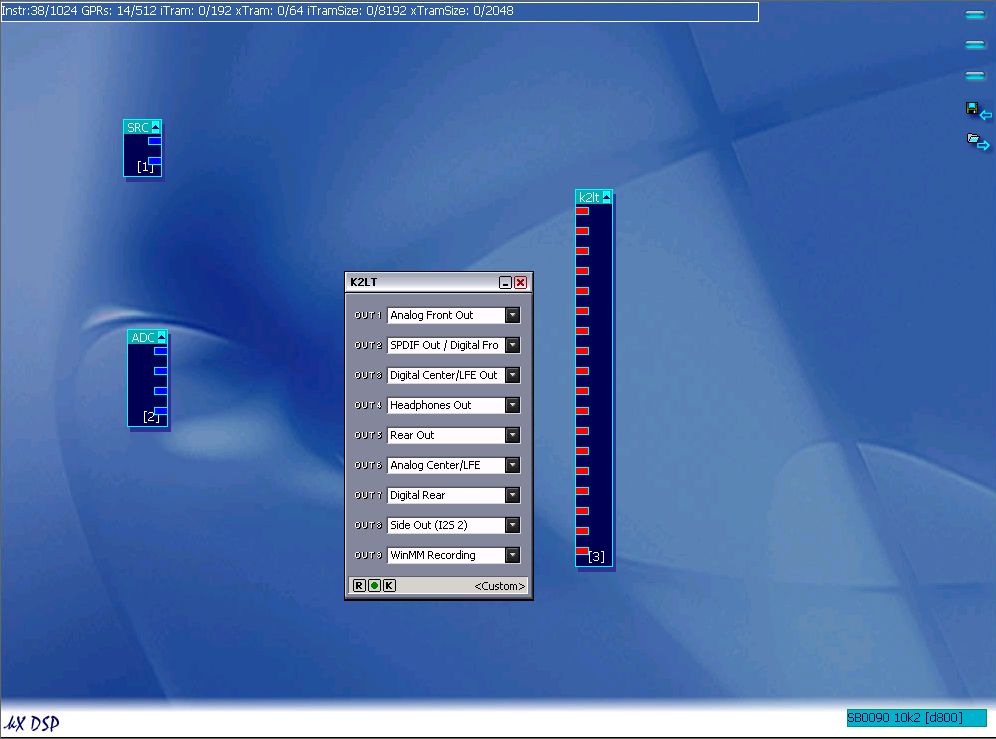
To test your sound card you can connect the input directly to the output and play a sound through the device.
- To create a patch cable left click on a plugin socket, then move the mouse to a target plugin socket and release the left mouse button.
Here we have done the above to connect the ProFx:SRC directly to the S/PDIF output.
If you now play something on that input it will travel through to kX card and appear at the output.
Now we will remove those test patch cables and add a mixer.
- Right click on a plugin socket and select `Disconnect'. Do this for both our test patches.
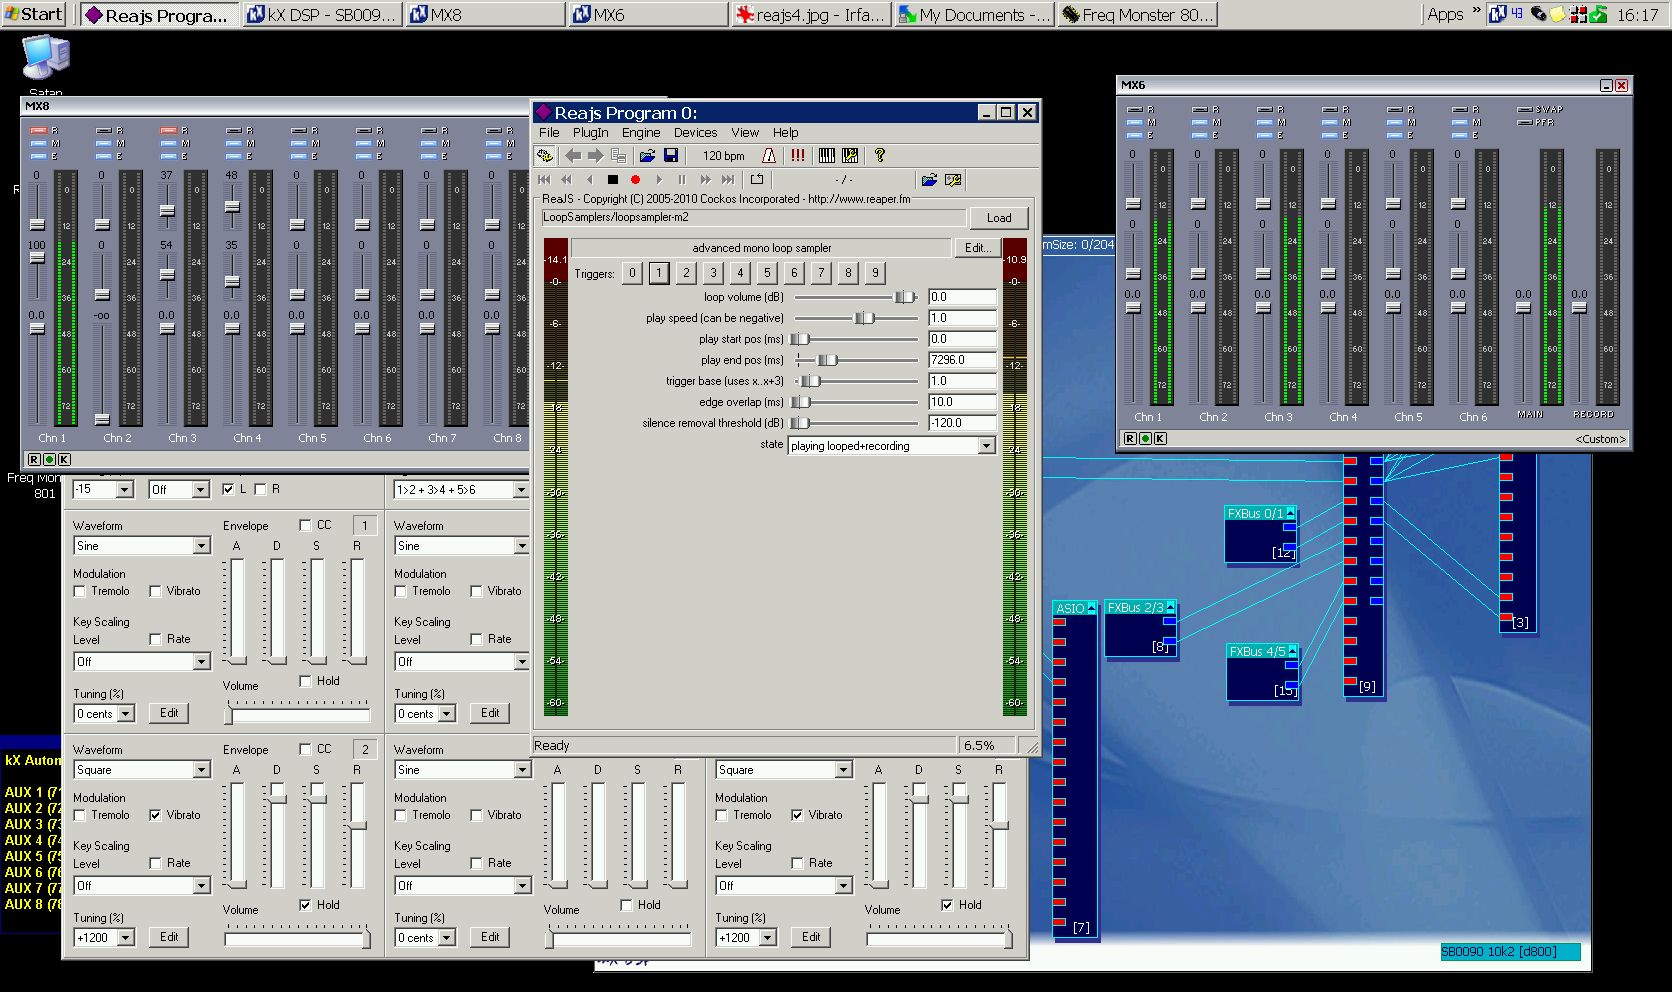
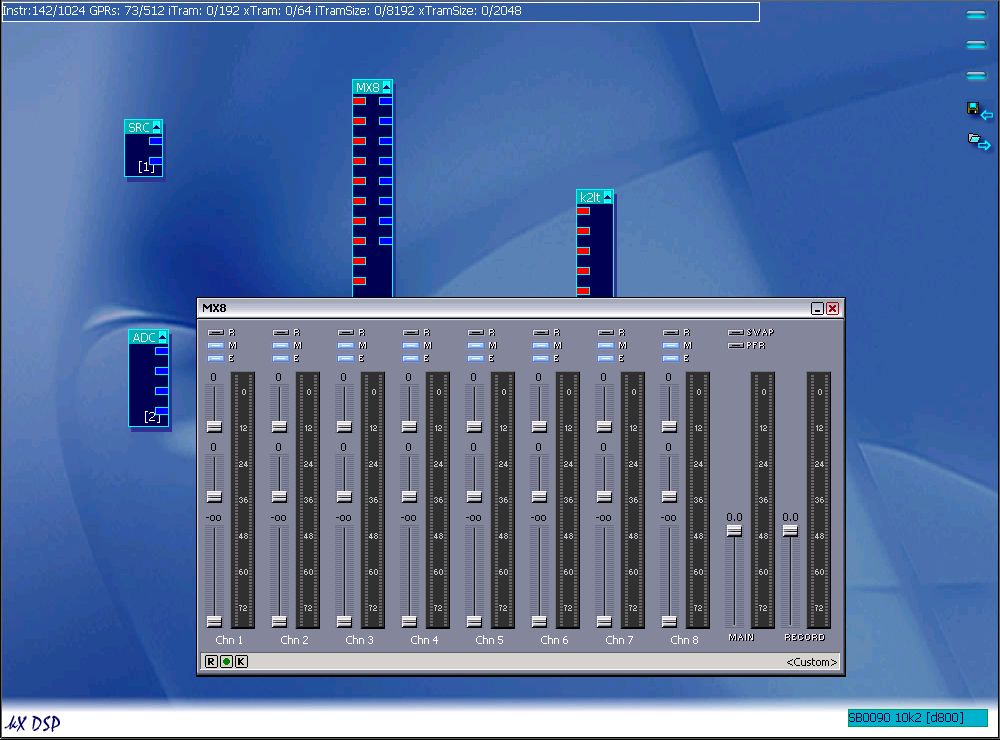
- Right click on the DSP panel and via `Add Effect/Plugin' add a ProFx:MX8 which is 8 stereo channel mixer.
The mixer plugin offers us two outputs, one for playback and one for recording. Each stereo input channel can be enabled for either of these, by default they are all enabled for playback and can be enabled for record by clicking the LED next to `R' for record. Each stereo input channel also has two sends, each send pair has a dedicated output and we can simply route the output from a send plugin back into one of the mixer inputs.
To finish off we will now add a DSP effect.
- Right click on the DSP panel to add another plugin, this time named `Reverb Lite'.
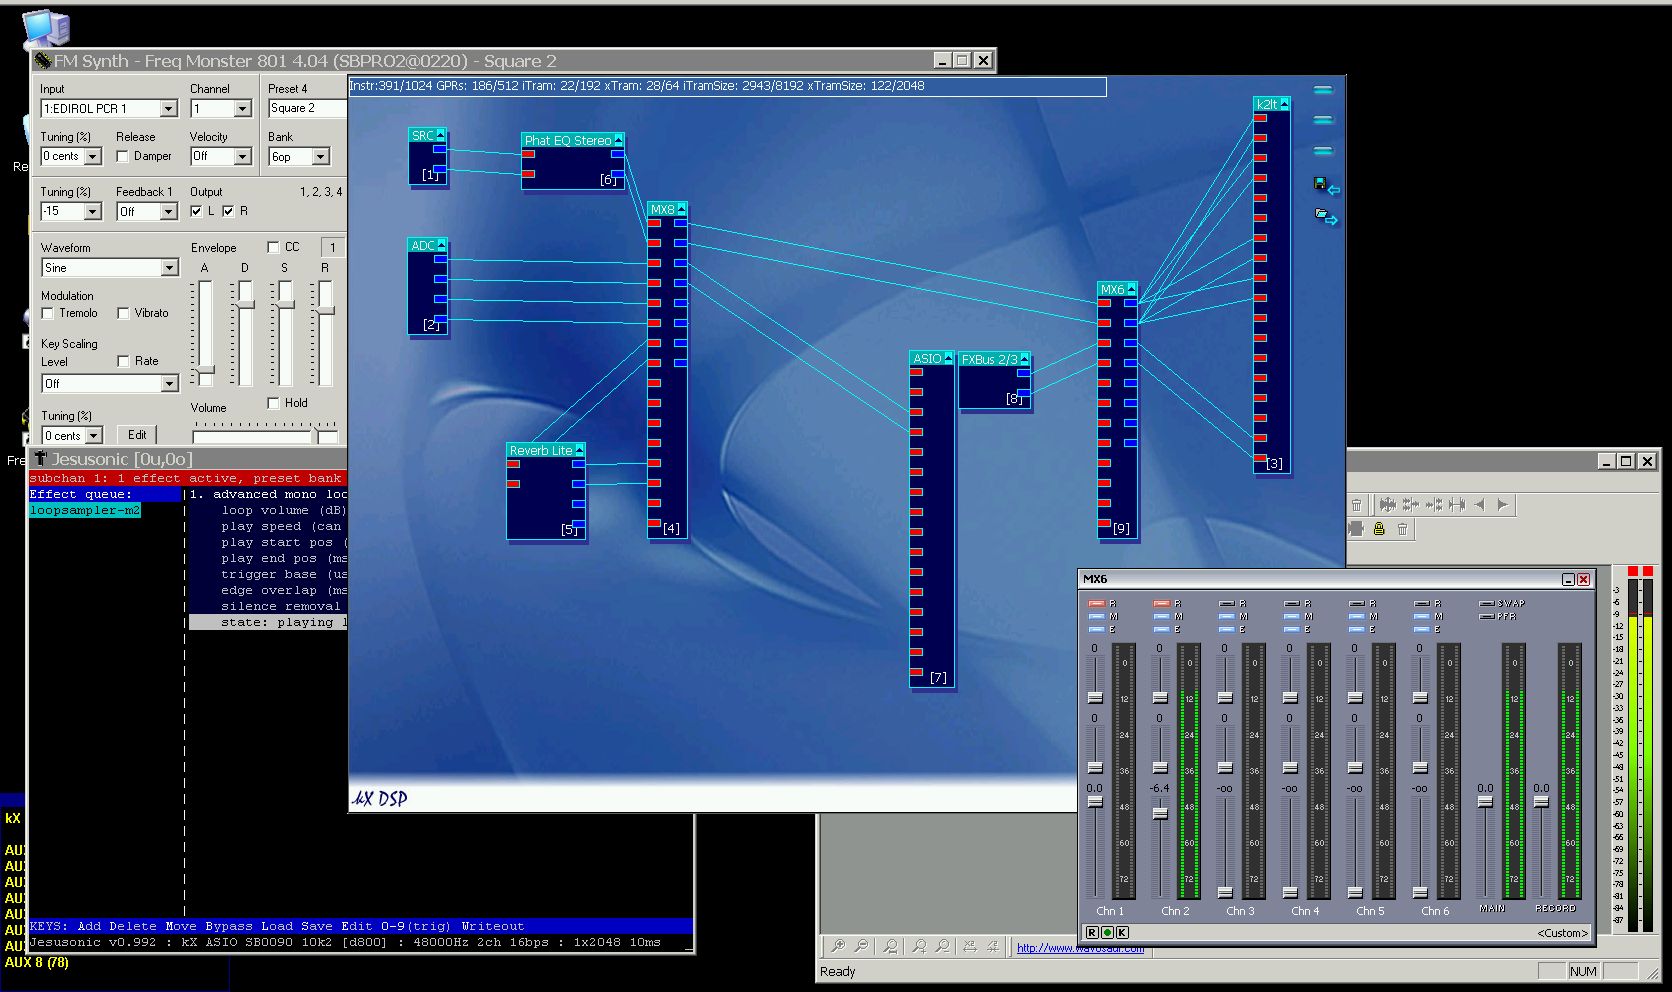
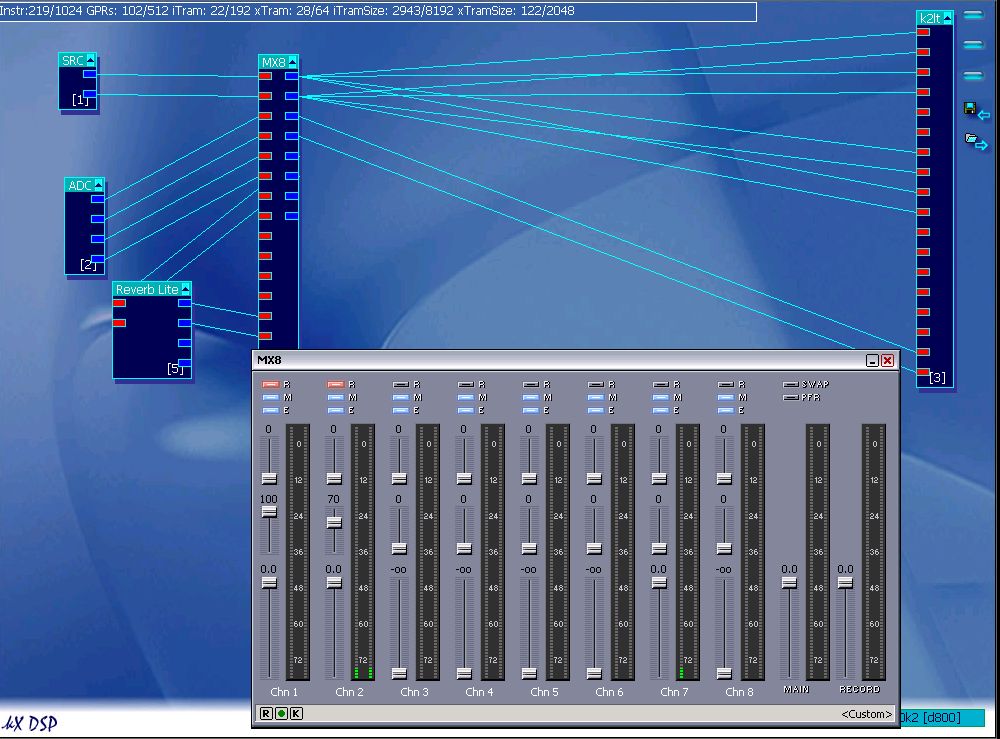
- Configure the DSP panel as per the image below (take your time).
Notice that we have adjusted the input levels and the send level to the reverb and also the reverb input level.
If you now play a sound through the kX card a reverb effect will be added to it using the DSP plugin `Reverb Lite'. Since this is a DSP effect no CPU use is required to perform this operation. You can adjust the reverb parameters by double clicking the plugin and moving its sliders.
|